Remove front neck edge ribbing from shoulder seam to seam. Leave attached in the back.
Fold shirt at center front.
Measure down 1 to 1.5 inches and mark.
Using ruler or straight edge, mark fabric from center front mark to upper shoulder edge and cut.
Finding center of neck edge ribbing and cut.
Your tee should resemble above photo now.
Pin ribbing to newly cut v neck edge stretching ribbing as needed.
Sew from shoulder seam on one side, stopping about 1 inch from v. Do again on other side stopping 1 inch from v.
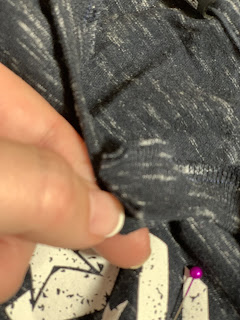
This part is kind of tricky. You will want catch the short edge of ribbing into the opposite side stitching.
Pin this edge and play with it until you see the it line up correctly.
Above is how the inside will look after you’ve sewn all edges.
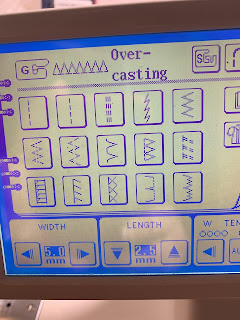
Use a over-casting stitch or zig-zag stitch to finish seam.
Your v-neck should look like this.


1 comment:
Have followed steps and ready to sew ribbing back in. Looks like this ribbing doesn’t have much stretch so I think its going to pucker. Any suggestions? Is there an alternative that will still give me a finished look? If not, last resort, I will cut the entire ribbing out and go with the raw edge look but not my first choice.
Post a Comment